
- Sep 24, 2024: Introduce a "Send a copy" option in macOS 15 and iOS/iPadOS 18 (here), handwriting parsing improvements (here), snap to grid (here), connector improvements (here), scenes (here), math notes (here), and apple intelligence (here)
Introduction
The freeform app is a digital whiteboarding solution from Apple. It is a pretty good app, that is again, Apple only, but supports all devices (yes, including Apple Vision Pro, yes, you can have an 80 inch whiteboard right in front of you). It is collaborative like most Apple productivity apps, and it is better built than most people give it credit for.
It is hard to compare this app to an ecosystem, because Google no longer has a whiteboarding app, Microsoft whiteboard is something I won’t touch with a 10ft pole, Figjam, while awesome is not really made for iPad (and you want whiteboards to support iPad), Miro/Milanote are good, but then, they are equivalent to comparing Notion/Tana/Obsidian to Apple Notes, Goodnotes/Concepts are not whiteboarding apps, Explain Everything is very education focussed, tldraw has poor feel with Apple pencil, and Heptabase doesn’t work on iPad at all.
The Basics
Freeform is an infinite canvas. So, unlike the notes app, you can extend it in all directions. It is collaborative, so you can ask other people to join in. And it supports apple pencil, so you can actually use it as a whiteboard. Because there are so many whiteboarding apps, and I have tried to use many of them, I’ll possibly talk some enhancements that other apps provide, relevant to the feature that i am talking about.
Board
The core component of the freeform app is a board. The board is a container, which allows you to add any kind of content to it. A board can contain any kind of item, and we will talk about items next. You can sort, duplicate or favorite a board. If you duplicate a shared board, the copy isn’t shared.
Content Types
Items are the kind of elements you can add to your board. Freeform supports eight types of elements: sticky notes, handwriting and drawing, shapes, images, links, files, textboxes and connectors. As a short introduction to the uncommon ones, sticky notes allow you to add “a note” to top of anything on the board, links show a preview (Open Graph (OG)) image, and connectors allow you to connect two items with a line where the line moves when either of the content it is connected to moves. Most other files show first page as previews.
Formatting and Styling
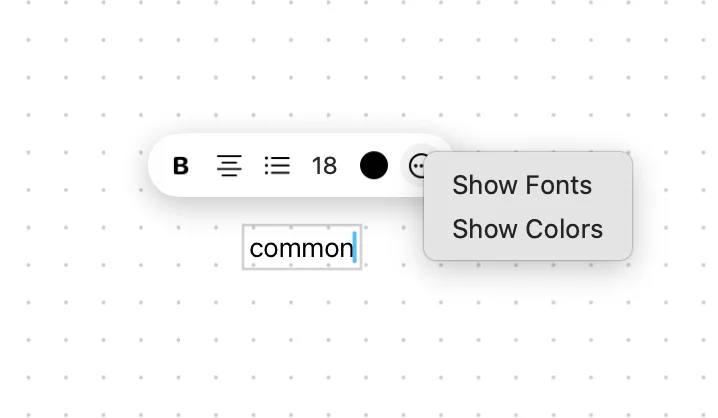
Freeform provides all basic styling options that you might need, namely, bold underline, italics, colors (both from a list of presets, and the color wheel), alignment, list types, font types and font sizes.
To copy and paste styling in Freeform, select the formatted item, tap the tools, choose Copy Style. Then select the item to style, tap tools, choose Paste Style to match fonts, colors, line weights, corners, or shadows.
To apply consistent text styling, first format an item as you want it to look. Tap Copy Style, then tap to select other items and Paste Style to match fonts, colors, etc. You can also Save as Insert Style so new items added will automatically have that styling.
Sharing and Collaboration
To manage sharing settings for a Freeform board, open Shared boards, Control (^) + click the board, and choose Manage Shared Board. You can lock for view only, allow editing, enable participant adding, change individual access/permissions, invite others with a link, or copy the link to share.
To collaborate in Freeform, click the Collaborate button, enable Participant Cursors, then jump to another user's location by clicking their name, or follow along as they work by choosing Follow Along from their More options.
Starting with macOS 15 and iOS/iPadOS 18, you have the option to send a copy. Using this feature provides you with a link that, when shared, duplicates the board into the recipient's account. This is particularly useful for sending templates or versions of a board where you don't want people to see synced changes. If you make changes after generating a link, these won't be reflected in the original link (similar to how it works when sharing Apple Shortcuts).
You can also export a board as a PDF while browsing All Boards or when you have opened the board. To do it while browsing All Boards, touch and hold the thumbnail or name of the board, then tap Export as PDF. You cannot export boards to png or an image though which is a weird decision on Apple’s end.
Apple Intelligence
Freeform currently supports the available writing tools in Apple Intelligence for MacOS 15.1 and iOS/iPadOS 18.1 in supported regions. These writing tools include Proofread, Rewrite, Friendly, Professional, Concise, Summary, Key Points, List, and Table.
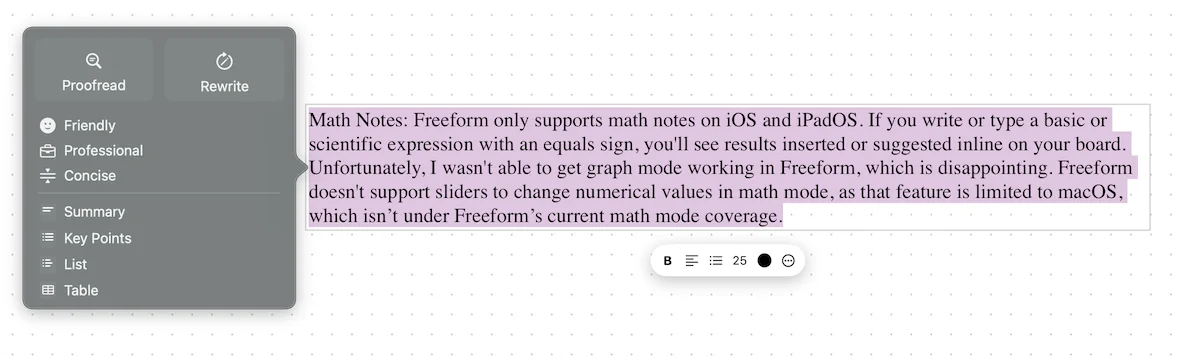
Image Playground and image generation that is deeply integrated into a Freeform board are planned features, but they have not yet been released as of Sep 24, 2024.
The Details
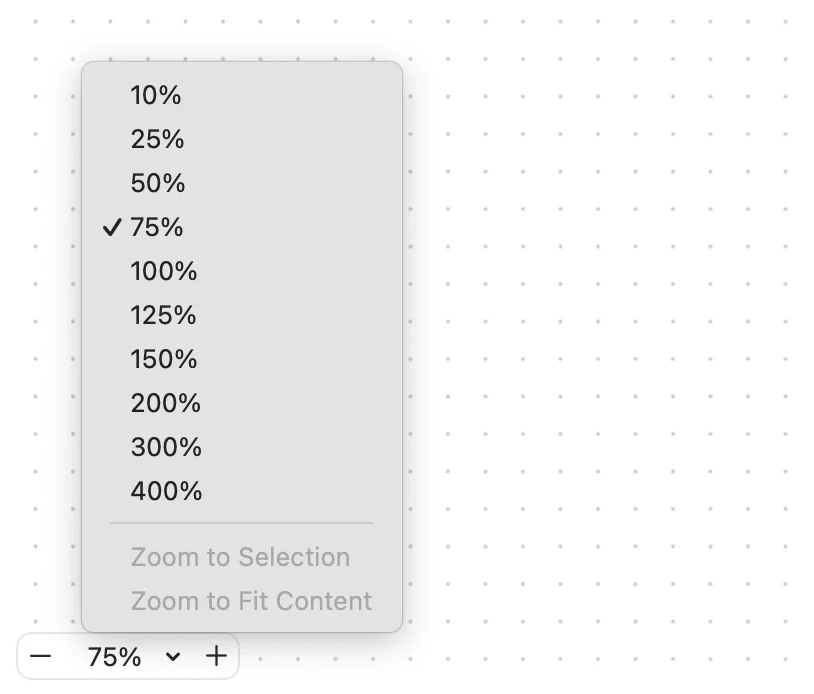
Board: By default, the board comes with this dotted pattern as the background. You can toggle the dots using the square button (the tooltip will say Hide the dot grid at the bottom right). You can also snap to grid using by turning on the Snap To Grid option in the View menu. You can now pan around the board on macOS easily by clicking and dragging on the canvas while the spacebar is pressed. You can zoom using pinch but also using the zoom menu on the bottom left, which allows for percentage based zooming, and two other options, namely, zoom to fit selection and zoom to fit content. If you lock any item on the boards, they can’t be moved or changed.
Sticky Notes: Sticky notes can be placed over any content on the board. They are mostly used to provide feedback or add comments to the board. If you use the double click to add text to sticky note, the text will move along with the note (behaves similarly to adding text to a shape in any other app), but if you handwrite it, it won’t move along with the note.
Images: You can also drag a photo or video into your board from Photos, the Finder, or another app. To customize images in Freeform, use the many formatting options in Format > Image, like removing backgrounds, adding shadows, rounding corners, and more. To put an image inside a shape, overlay a shape on top of the image, then select both the image and the tape. Tap Mask with Shape to put the image inside the shape as a frame or mask.
Handwriting and Drawing: Starting with MacOS 15, iOS/iPadOS 18, Freeform now allows you to work with handwritten text in a similar way to Apple Notes , providing options to search, translate, and copy as text. The app has tools like Fill, Crayon, Fountain Pen, and Ruler, and you can swipe right on the toolbar to see more. Tap a tool to select it. Double tap to adjust qualities like thickness and opacity. Using the select tool, you can then delete, resize, or straighten portions. The Snap to Shape option helps smooth hand-drawn lines. Drawings can also be cut, copied, or duplicated like other items by tapping to select and using the formatting options. Hold the pencil on screen after completing the shape in one stroke to snap it to the correct/clean shape.
Shapes: Tap to add shapes, lines, and arrows. Select to format - change fill, stroke, shape. Or draw freehand then smooth and straighten strokes. To easily create a connected diagram like a flowchart use the shape picker and connectors, drag an arrow to where you want the next shape, then select it from the menu that pops up. You can also quickly add evenly spaced, aligned shapes by holding down on a connector arrow and releasing when the preview matches what you want.
In Freeform, multipart shapes can be split into individual parts for editing. Overlapping shapes can be combined in different ways - united, intersected, subtracted from, or excluded. After adding shapes, tap More to break apart or Arrange to combine using various options. To change size, width or length, tap to select any shape or line, drag the blue dots to adjust overall size and proportions. For shapes, green dots alter specific attributes like number of sides; for lines, they adjust curvature.
To apply consistent text styling, first format an item as you want it to look. Tap Copy Style, then tap to select other items and Paste Style to match fonts, colors, etc. You can also Save as Insert Style so new items added will automatically have that styling.
Files: You can add media by tapping the plus icon and selecting options like Stickers. On an iPad, you can also drag and drop files into Freeform from Split View, or copy/paste items. Double-tap any added photo, video, or file to preview the full item within Freeform. When you preview a PDF file in Quick Look, you can mark up the file directly in the preview window without needing to open the full file. If you are previewing a 3D object file, you can rotate and view the object from all angles by clicking the Rotate button and dragging.
You can insert files from your iPad or iCloud Drive into Freeform, and in most cases they are copied over. When linking to collaborative iCloud documents though, it instead creates a “live” link and other participants can open the live file from Freeform to work on it together.
Connectors: You can use connector lines between any two items. Click the Show Connectors button in the lower-right corner, then drag one of the arrows up, down, left, or right, to add a connector line to the other item.
Remember that you can only have one connector line between 2 items, so if you are using connector lines to create a diagram, you can’t show a 2 way process like A → B, and B → A that uses the same shapes.
Starting with macOS 15 and iPadOS/iOS 18, connectors can be anchored anywhere on objects and shapes, allowing for more detailed diagrams and structures. They remain magnetic and move along with shape positioning, with suggested anchors at corners, edge centers, and shape centers. However, users now have the flexibility to attach connectors anywhere on a shape.
Descriptions: You can add descriptions to most multimedia content in the board, this is mainly to enable accessibility, but also allows you to improve search inside boards as mentioned below.
Search: To search all Freeform boards, enter text in the sidebar search field. To find/replace text in one board, open it, press Command-F, enter text, use arrows to navigate results, click Replace and enter new text, or click All to replace all. tarting with MacOS 15, iOS/iPadOS 18, Freeform now allows you to work with handwritten text in a similar way to Apple Notes , providing options to search, translate, and copy as text. Unlike the Notes app though, Freeform does not index content inside files attached inside the boards, and just searches the text associated with text boxes, links and descriptions.
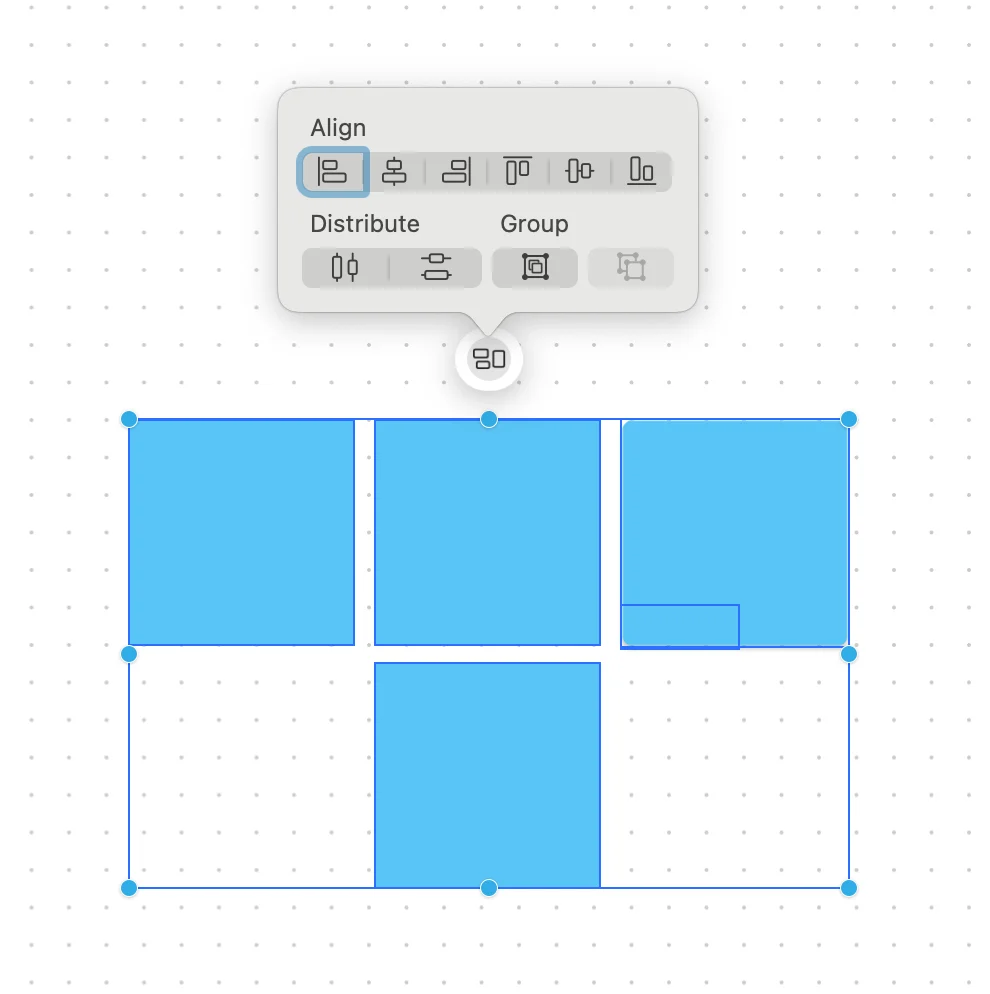
Position Items on Board: You can select an item, then drag from the center to reposition it, or drag a side dot to freely resize in any proportion. On iPad, you can also rotate an item by placing two fingers on it and turning. To move multiple items together, select them then align or group - on Mac Control-click and select Constrain Proportions before resizing proportionally. On iPad, match one item's size to another by starting to resize, touching the item to match, then lifting both fingers when Match Size appears. With grouped items, you can move, rotate, or resize them together as one unit for easier manipulation. You can also align objects such that they are evenly distributed on the board. Select all the items you want to arrange choose Arrange > Align Objects or Distribute Objects to evenly align or space items vertically, horizontally, or distributed across the board.
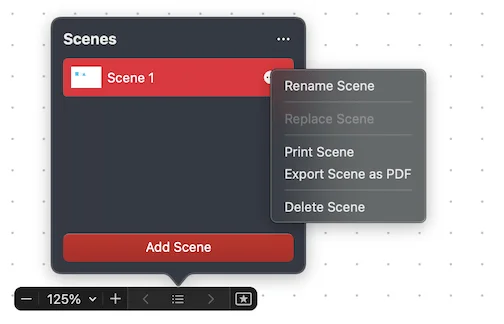
Scenes: Scenes act as bookmarks on the canvas, created based on your current view. When you click "Add Scene," your current view becomes a scene that you can rename, replace, print, and export as a PDF. This feature is useful when working with multiple pipeline information and you want to export only one part. Scenes can be deleted and have different zoom levels, allowing you to create nested scenes within a particular scene. Unlike frames, which have a table of contents structure, scenes are more like canvas placements bookmarked for easy viewing.
- Math Notes: Freeform only supports math notes on iOS and iPadOS. If you write or type a basic or scientific expression with an equals sign, you'll see a popup saying “solve”, clicking on which results in a solution inserted or suggested inline on your board. Unfortunately, I wasn't able to get graph mode working in Freeform, which is disappointing. Freeform doesn't support sliders to change numerical values in math mode, as that feature is limited to macOS, which isn’t under Freeform’s current math mode coverage.
The Arcana
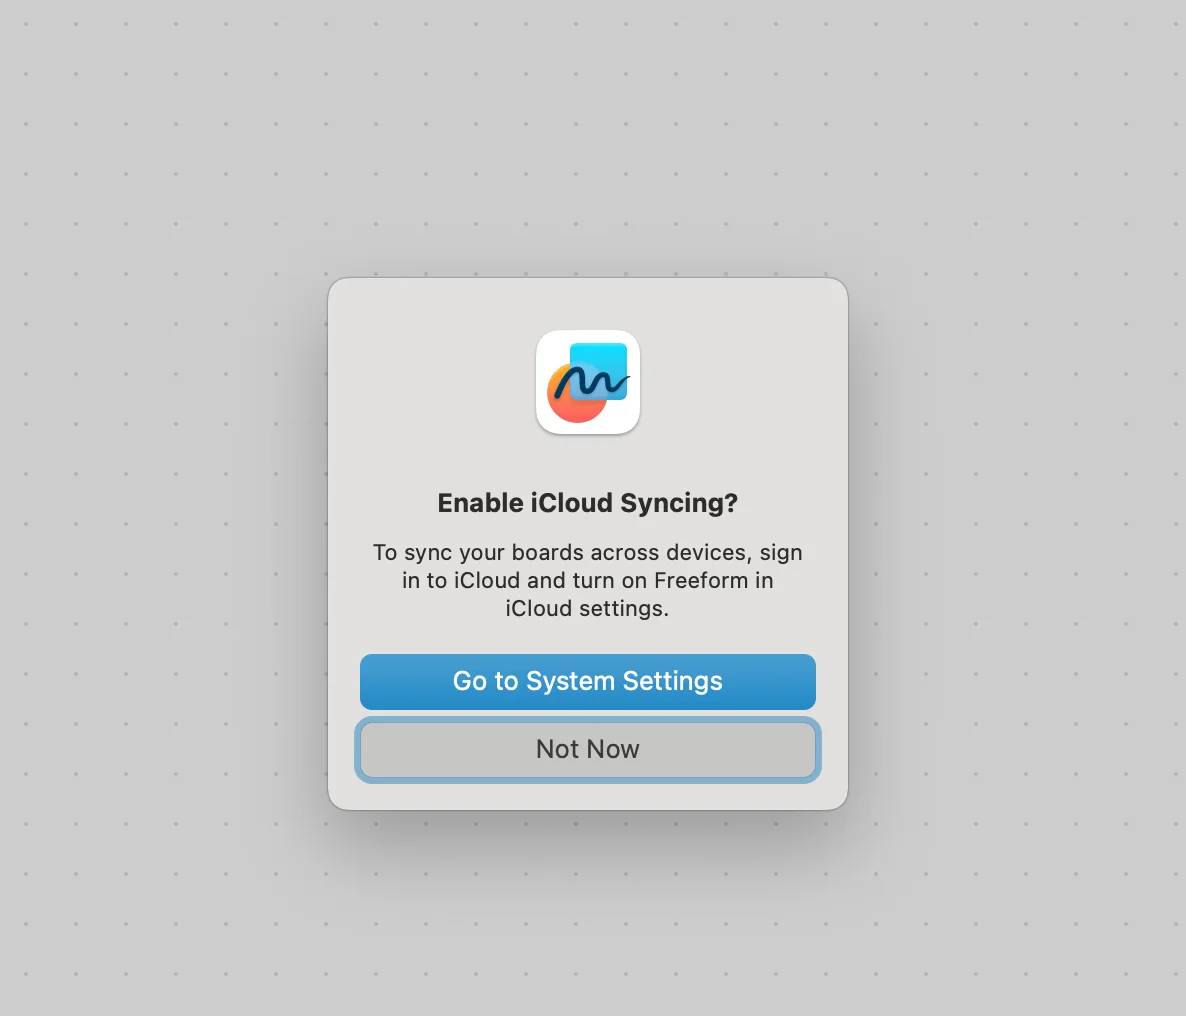
Freeform is (from what I remember) one of the only apps that Apple has made, that doesn’t turn on iCloud by default. When you first open Freeform, you’ll see a dialog box asking you start syncing with iCloud. This is primarily because Freeform does store all the files that you add to the board with it, with each board easily ramping up to being 10s of GBs in size.
By default, the board comes with this dotted pattern as the background. You can toggle the dots using the square button at the bottom right (the tooltip will say Hide the dot grid at the bottom right).
Hide the dot grid at the bottom right).
You can zoom the board by pinching out, but also through the zoom menu on the bottom left of the board. That provides you with two other options, zoom to selection and zoom to fit content. If you have sometimes zoomed in too much to the exact point you needed, you can zoom to fit content to get an overhead view. Zoom to fit selection is nice, if you want to for example, have a grid view, created using 4 rectangles in 2x2 shape, and want to zoom into one of the rectangles.
- To collaborate in Freeform, click the Collaborate button, enable Participant Cursors, then jump to another person’s location by clicking their name, or follow along as they work by choosing Follow Along from their More options.
- If you share the collaboration link in Messages - you'll get notifications in the conversation when changes are made.
- To apply consistent text styling, first format an item as you want it to look. Tap Copy Style, then tap to select other items and Paste Style to match fonts, colors, etc. You can also Save as Insert Style so new items added will automatically have that styling.
- On iPad, to match item sizes while resizing any shape, start resizing with one finger, then use a second finger to touch and hold the sized item to match. When
Match Sizeappears, lift both fingers. Even Muse doesn’t index content inside the board, so there is that. - You can insert files from your iPad or iCloud Drive into Freeform, and in most cases they are copied over. When linking to collaborative iCloud documents though, it instead creates a “live” link and other participants can open the live file from Freeform to work on it together.
- When you share stuff to a Freeform board from any other app, it gets added to the right. Hence, if you are creating sections in your board to have “unsorted stuff”, you should put your unsorted boards to the right.
If you enjoyed reading this and found something that clicked for you, please consider supporting me by buying me a coffee here: