If you are checking it out Nov 1, 2025, then Webtrotion 2.x (Webtrotion 2.0: Footnotes, Citations, and JSON5 Config and
Webtrotion 2.3: Multiple Authors, External Content, Gallery Layout, and Copy as Markdown) also adds supports for footnotes and citations (special parsing), multiple authors and much more!
Are you curious on Jun 25, 2024 whether to use Notion Sites v2 or Webtrotion? Check this out!
New Features and Changelog
Oct 28, 2025: Comprehensive Citation and Footnote System (checkout Webtrotion 2.0: Footnotes, Citations, and JSON5 Config). Webtrotion now has a complete citation and footnote system. You can now add citations from BibTeX files and have them automatically formatted. Footnotes are also supported, with popovers for easy reading.
Oct 25, 2025: Enhanced OG Images. OG images for tags and collections now include descriptions. A new automated workflow has been added to clean up template-specific files when you create a new repository from the template or pull updates from it. This keeps your project clean and free of unnecessary files.
Sep 11, 2025: Search from Query Parameters and UI improvements. You can now pre-fill the search box with a query parameter in the URL. The UI for the tags page has also been updated for a cleaner look.
Sep 10, 2025: Cache Recovery Workflow. A new GitHub Actions workflow has been added to allow you to recover your cache.
Sep 4, 2025: Upgraded Notion API. The project has been updated to use a newer version of the Notion API, ensuring better stability and compatibility with future Notion features.
Jul 6, 2024: Simple tables with search and sort. Unlike notion where your simple tables are basically just a form of displaying data, you can now search and sort your simple tables in webtrotion. Just have column headers and use <<🗂️>> in the first cell (modifiable in constants-config).
Jul 4, 2024: Breaking change → the shortcode for HTML rendering in an iframe (if you want to use external libraries like d3.js has changed to <!DOCTYPE html> <!-- iframe --> and for injecting it directly into the body is now <!DOCTYPE html> <!-- inject -->. This helps you have code blocks that are in html and start with <!DOCTYPE html> without rendering them.
Nov 29, 2023: Caching
Webtrotion is a extensively configurable, simple to install website builder, built with the Astro framework in conjunction with Notion. Use it to create an easy-to-use blog or website.
Acknowledgements
This theme is built based off three major contributions:
- Astro Cactus
- notion-astro-blog
- And this person on fiverr who got me 80% there on how to integrate notion into cactus theme
- Claude code and gemini cli [a][a]From September 2025 onwards, AI assistants have been used to develop complete features. Before this, GitHub Copilot and chat-based AI tools assisted with code writing but not full feature development.
Why Webtrotion
Webtrotion was built with the simple idea - most notion based builders, require at least one of these four things:
- A custom domain, or being willing to use a vercel like domain
- Just have blogposts be editable in Notion while pages are edited in the repo
- Require some third party tools, or are not free to use.
- Are not configurable because they are either based off third parties like super.so or the configuring requires editing multiple code files.
And I did not want that. We want something that converts well into a static site, can be hosted on github for free using the github.io domain, and can have both pages and blog posts and be configured pretty easily.
Why Notion and Astro
- I use Notion for all my notes, and it did not make sense for me to download them into an md file, carefully figure out the logistics and push/pull with other SSGs like Quartro, Eleventy, Hugo or Jekyll.
- I could have used another CMS but again, I use Notion, and it is easier to keep the content in one place. Notion also comes with interesting affordances that other CMS don’t: WYSIWYG for various components, block level permissions (to add drafts to post text), easy collaboration etc.
- There are some NextJS options that kinda fulfill this criteria but I do not know NextJS and I did not want to figure it out at the moment, for example: Notion Next, Morethan-log, and Notion-Blog-NextJs
Key Features
- Astro v5 and Tailwind v4
- Integrates with Notion to create a website and not just a blog
- Single file configuration
- TailwindCSS Utility classes with Notion Color Matching for everything.
- Accessible, semantic HTML markup
- Responsive & SEO-friendly
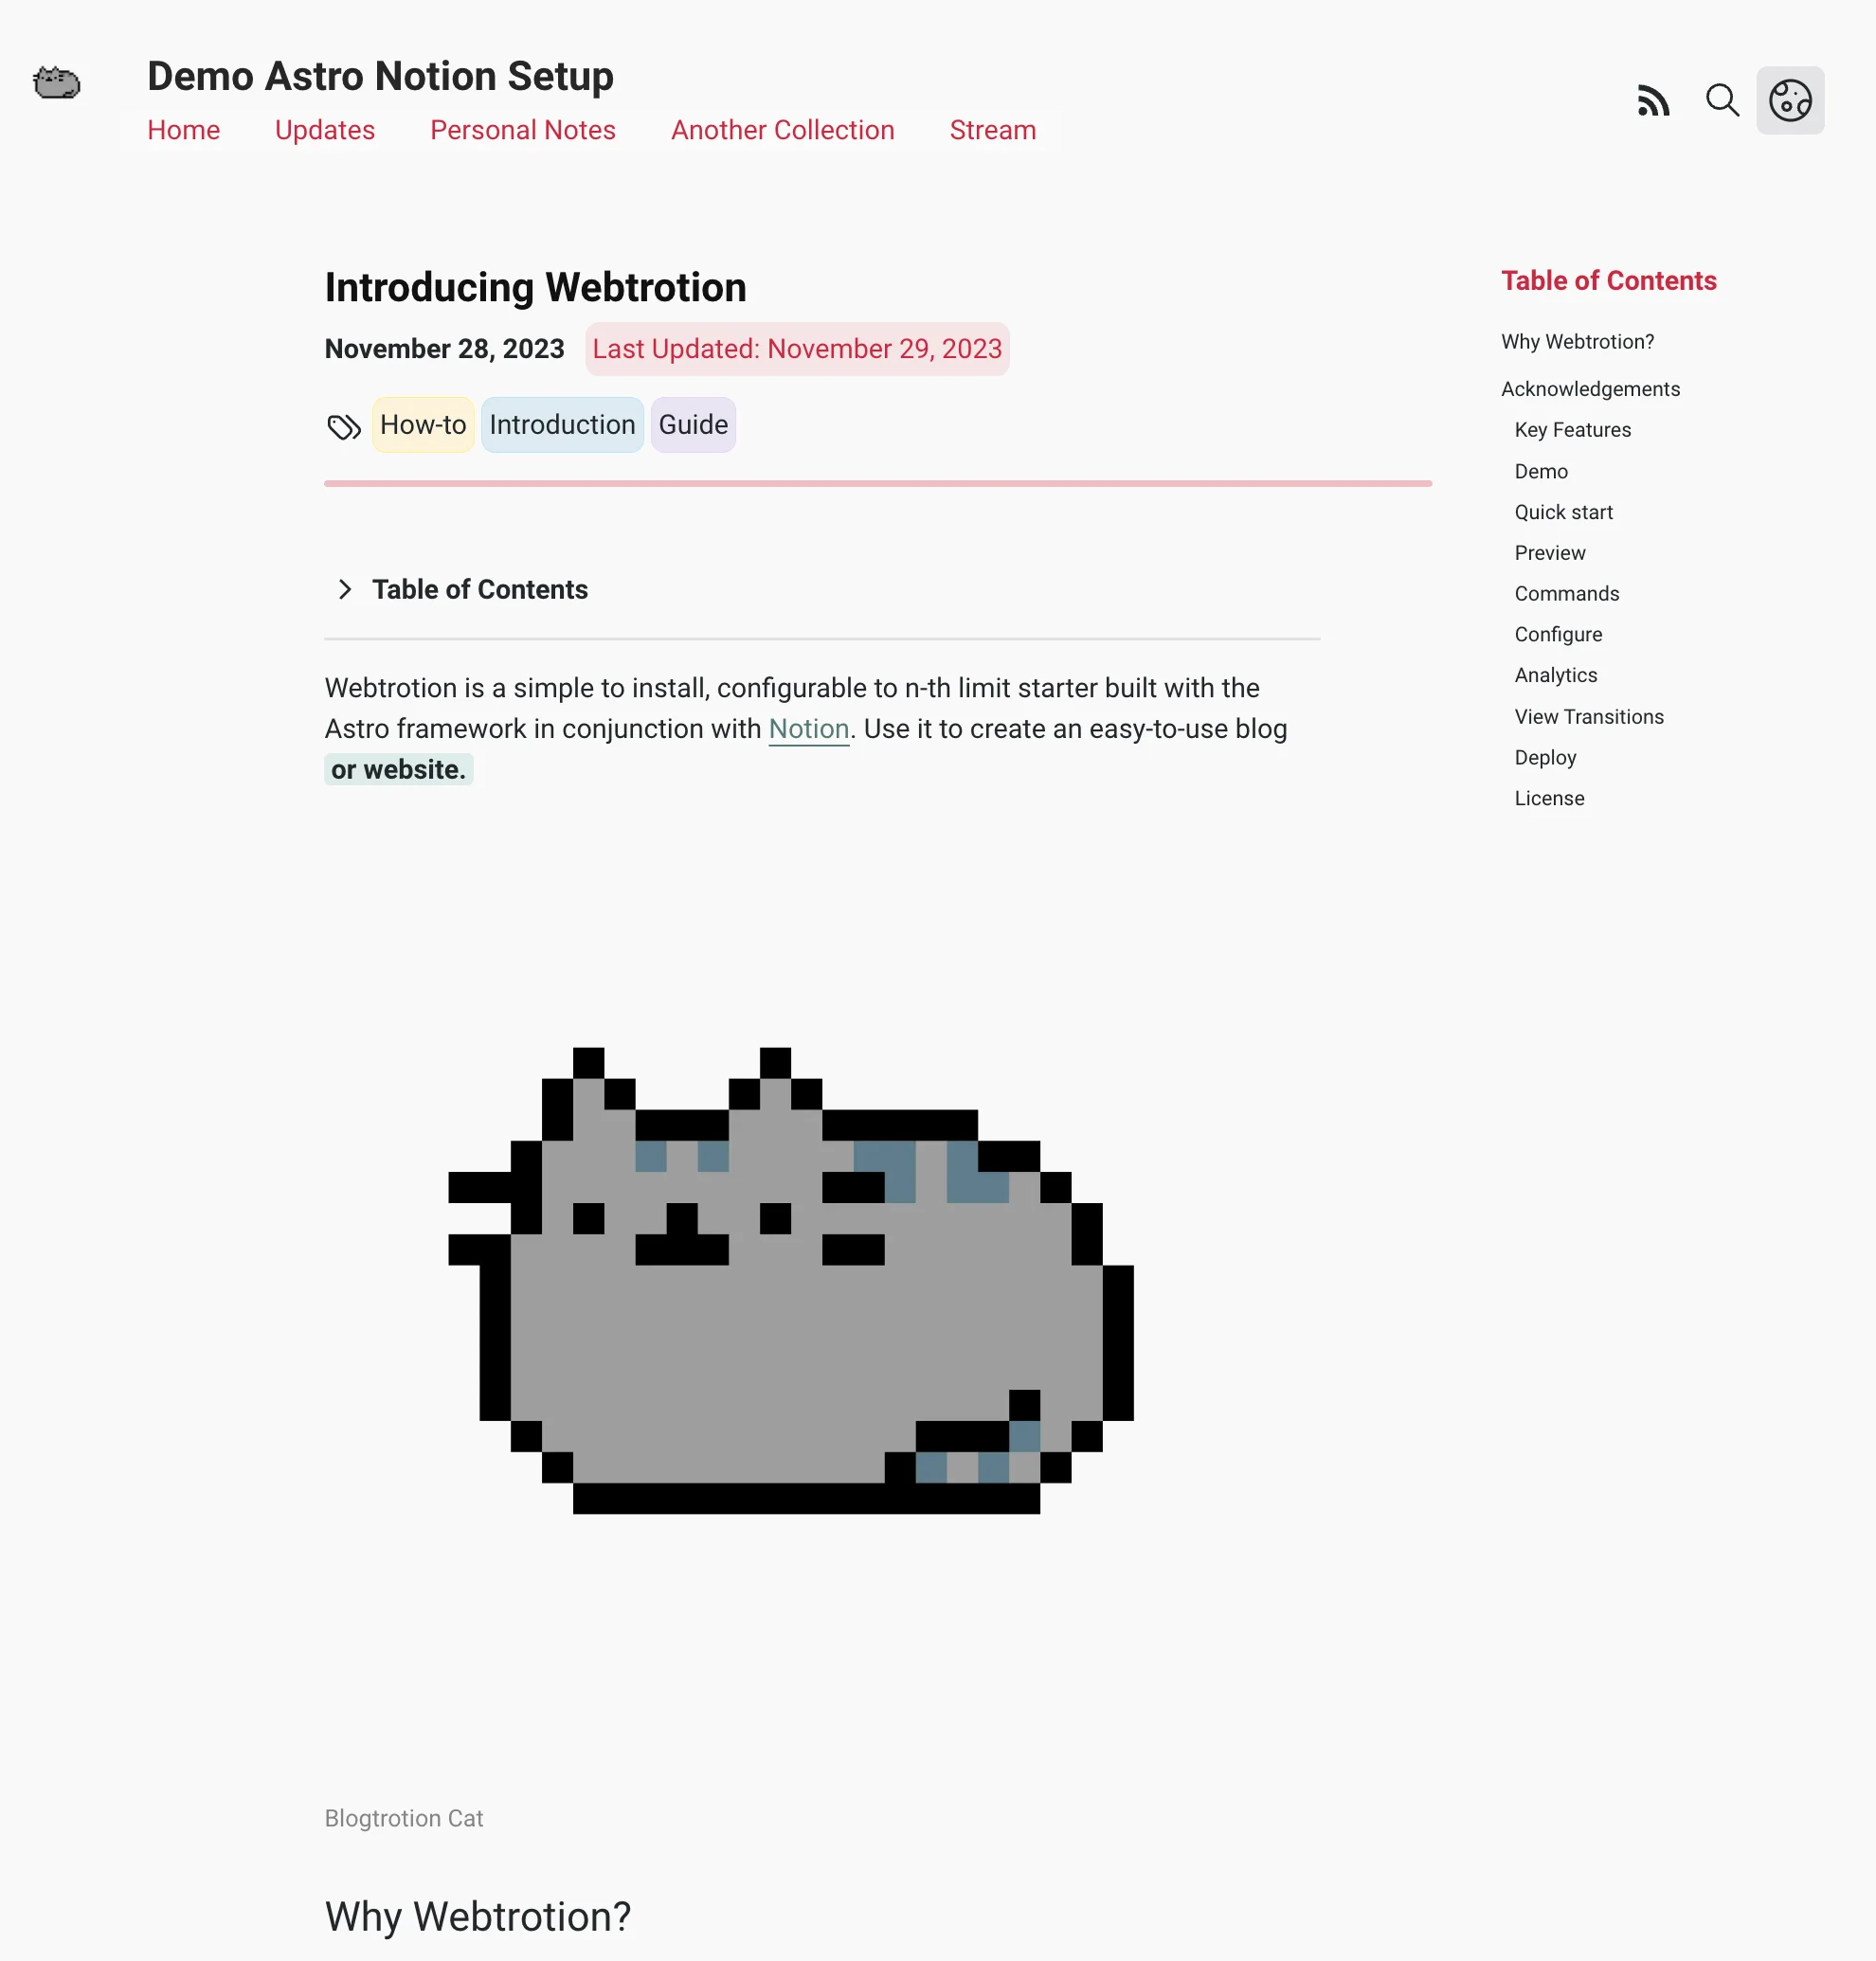
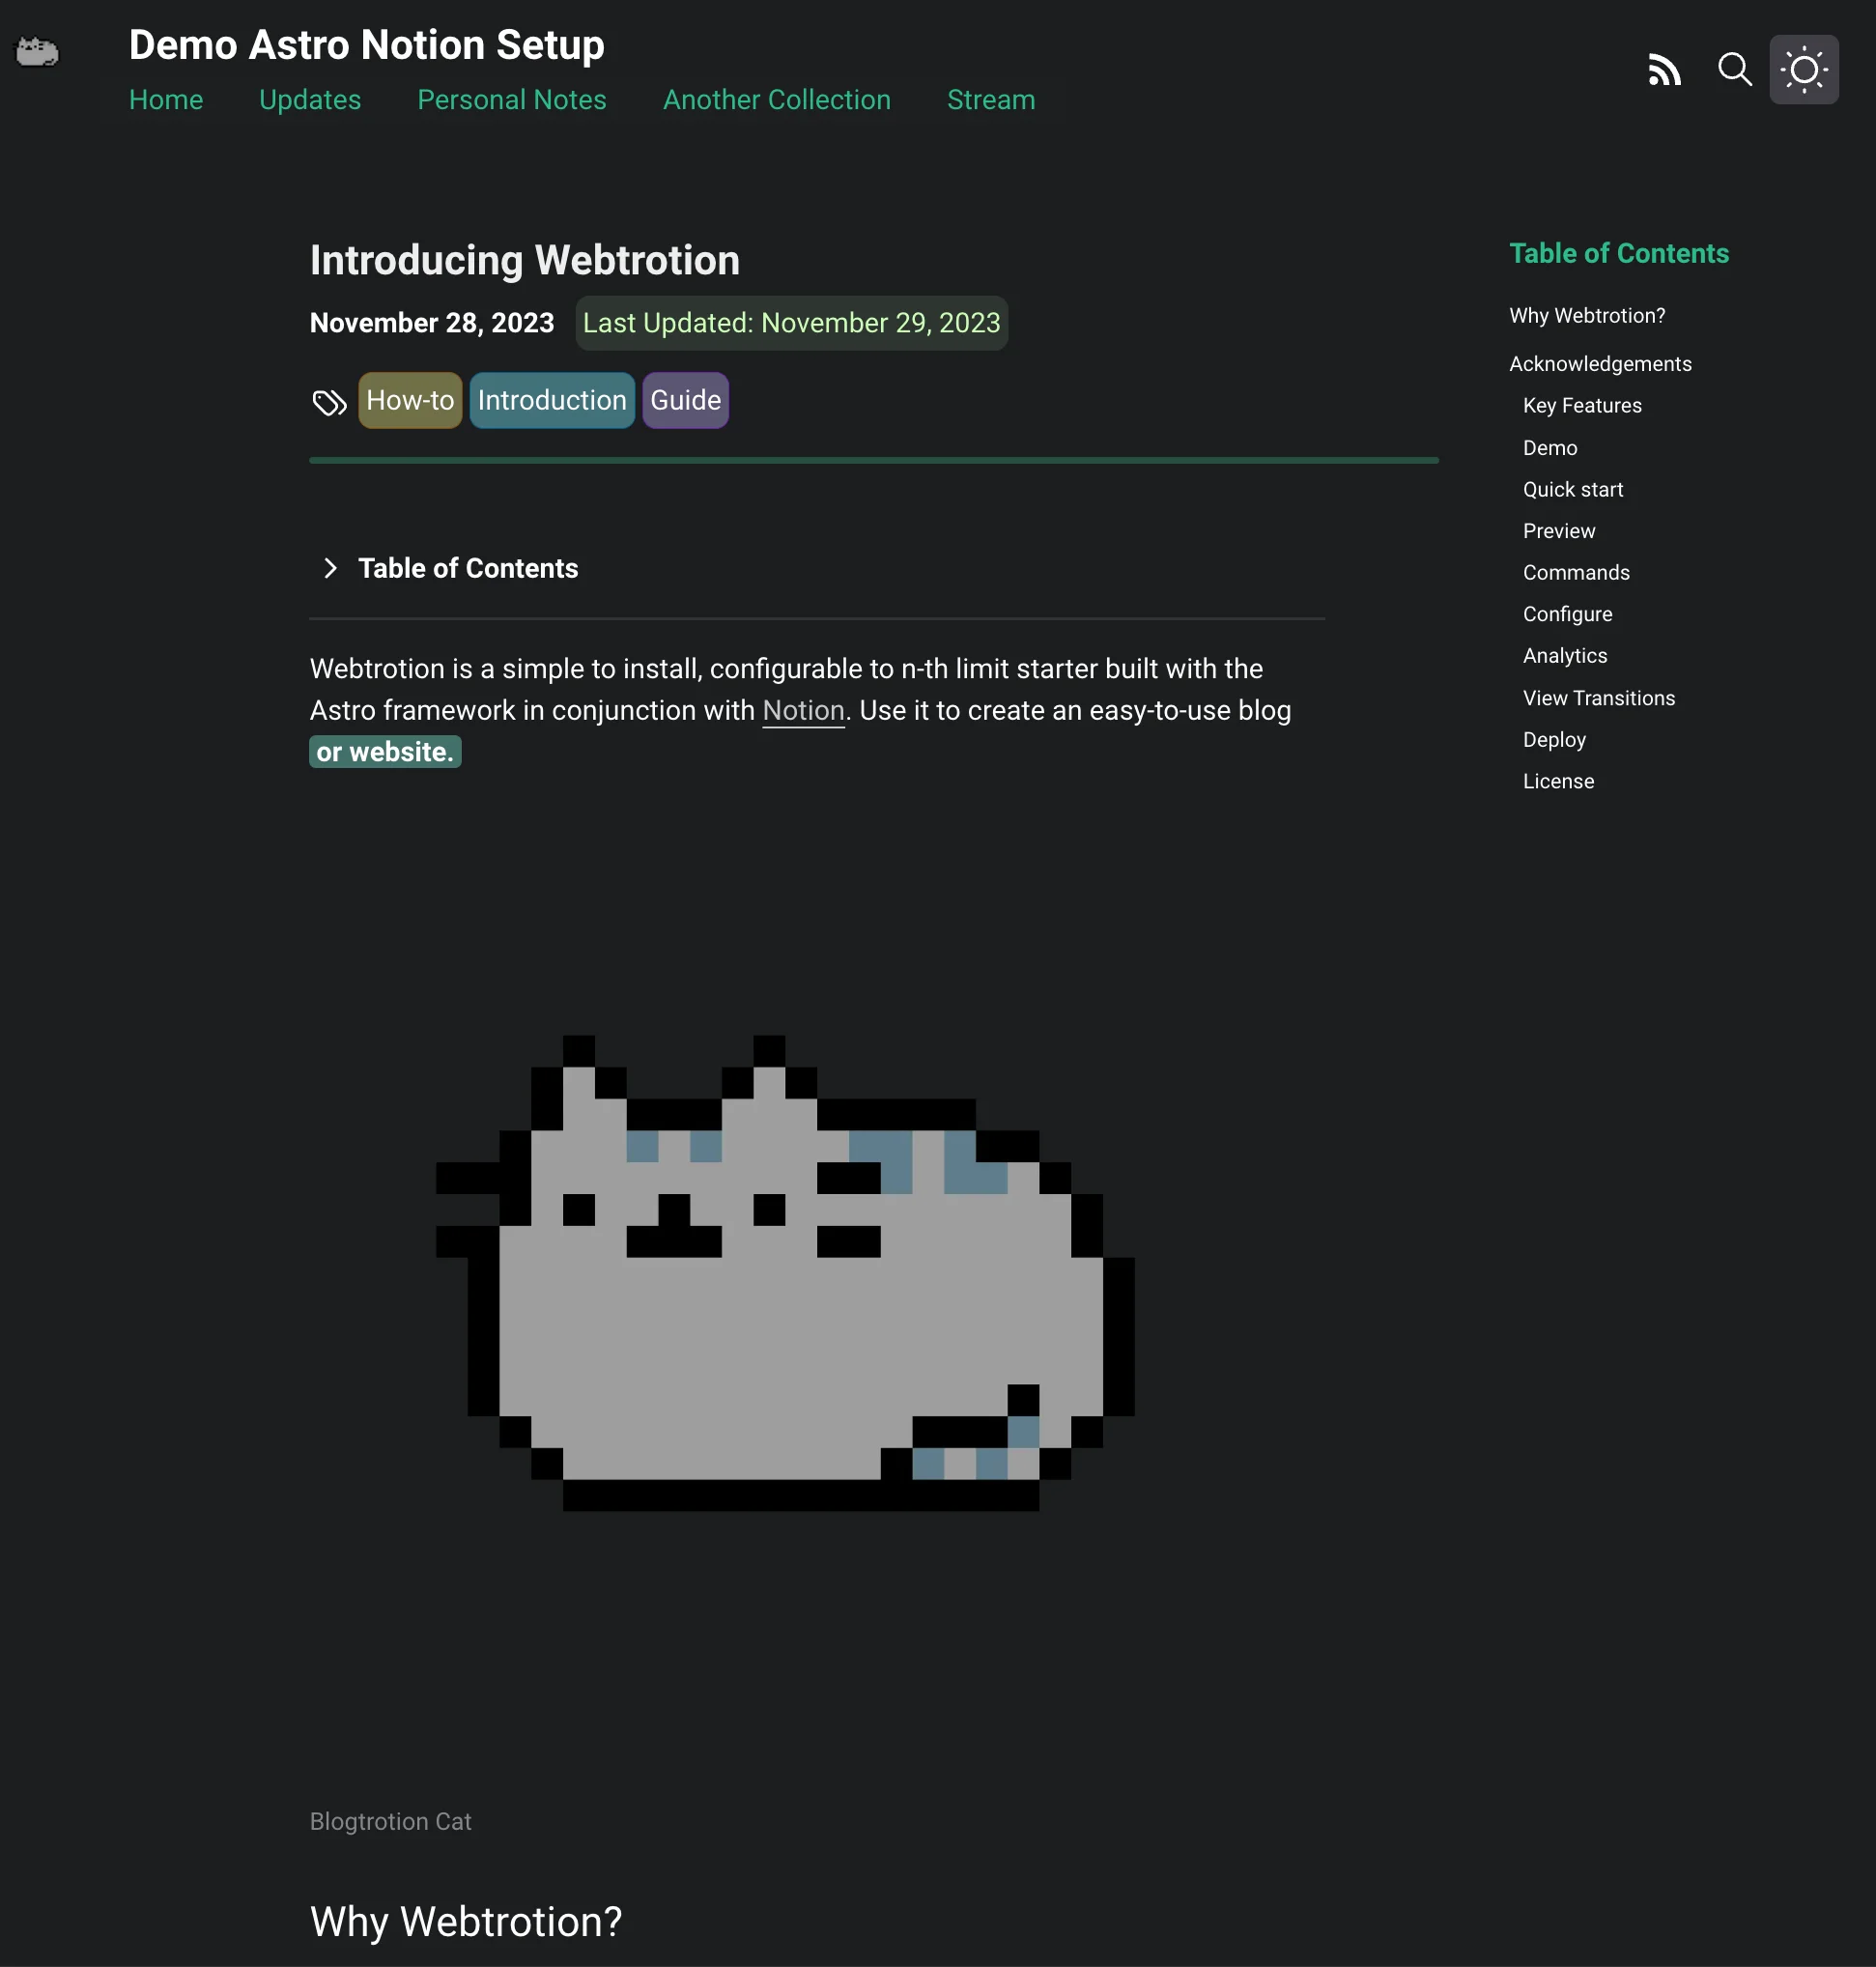
- Dark / Light mode, using Tailwind and CSS variables that can be modified using a single config file
- Satori for creating open graph png images that includes your featured image
- Pagination
- Automatic RSS feed
- Webmentions
- Giscus and Bluesky comments
- Auto-generated sitemap
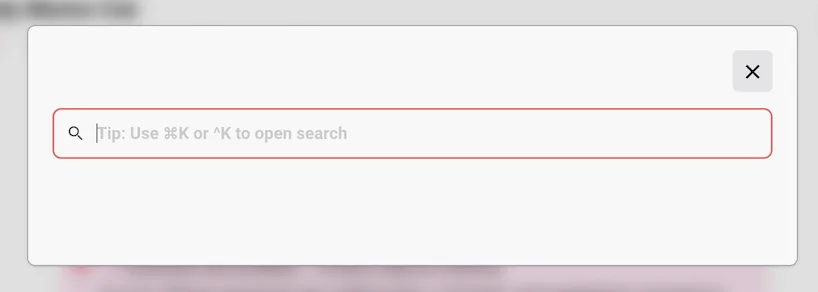
- Pagefind static search library integration
- View Transitions
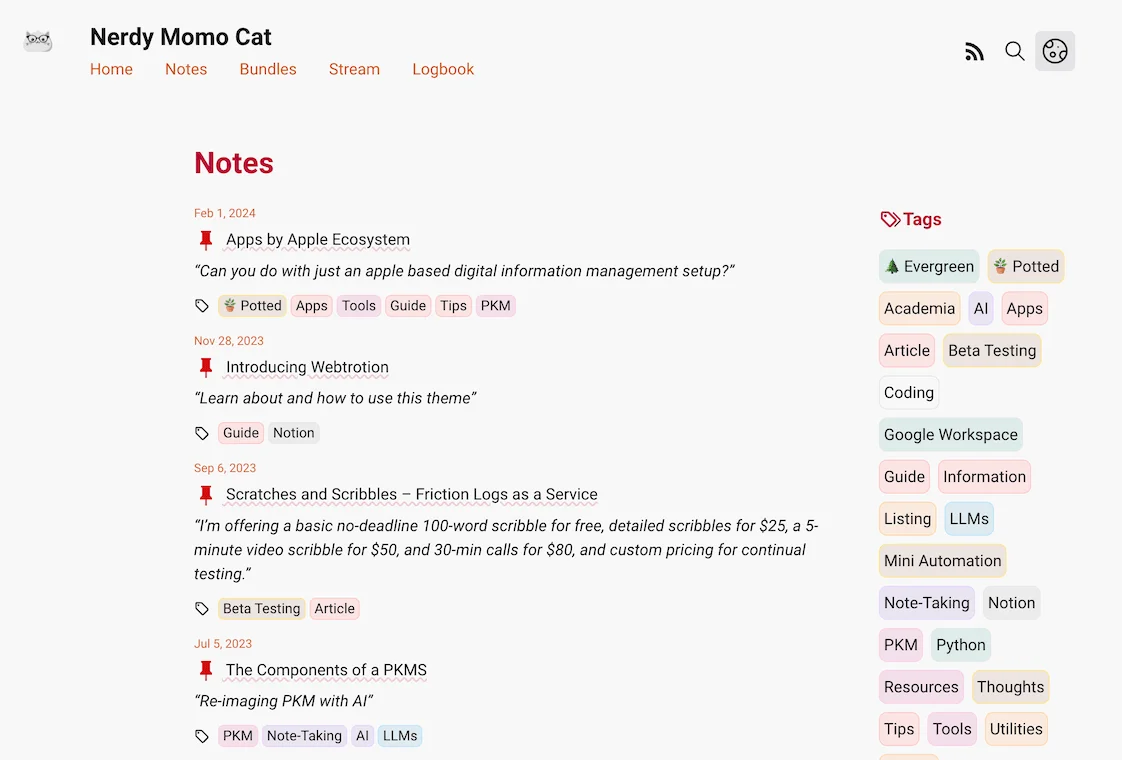
- Pinned Posts
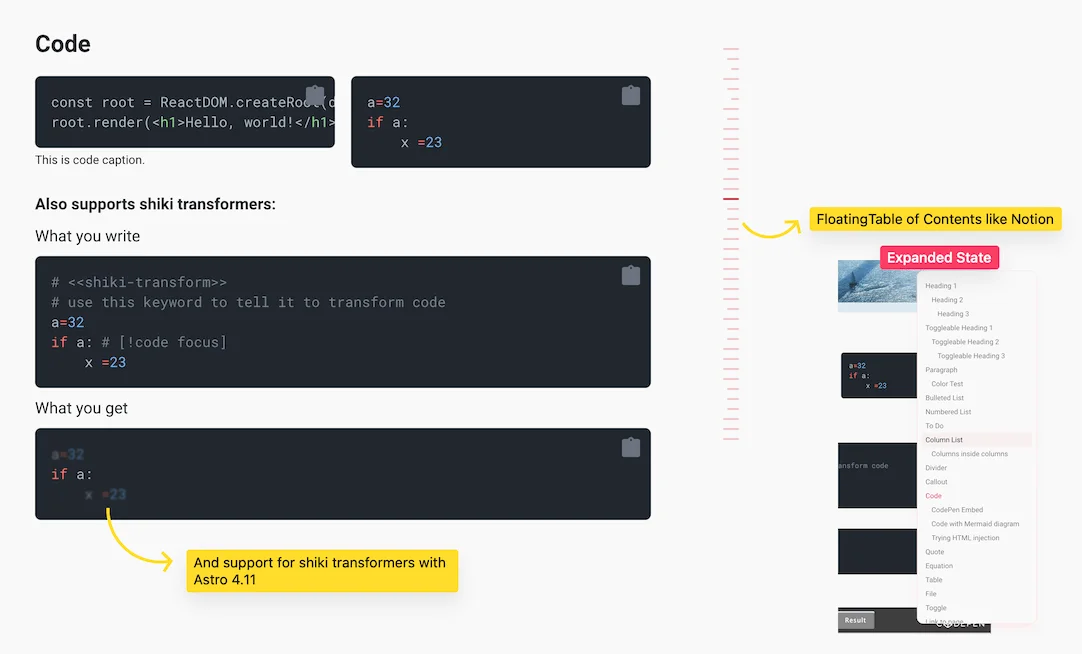
- Shiki Transformers for Code Blocks
- API request output caching on Github Actions for fast build times
- Mini blog streams (idea copied from Linus’s stream)
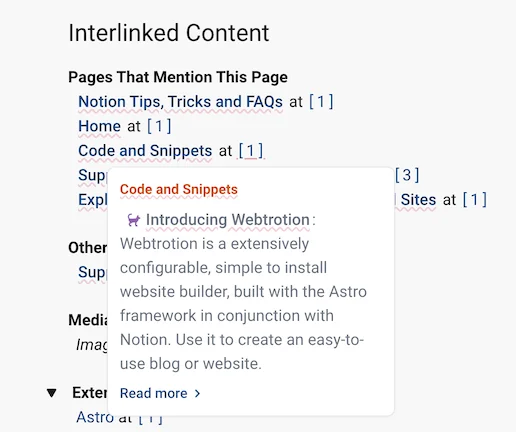
- Auto-generated related content and pages that link to this page
- Pretty looking wikipedia like popups on hover that works with links to any block on any page.
Starting Webtrotion 2.0,
- Footnotes and Citations [b][b]Just like these!
- Listing view supports both list and gallery layouts
- Multiple authors with dedicated author pages
- Cover images as hero backgrounds
Demo
Check out the Demo, hosted on Github using Github actions
Quick start
Notion Setup
- Duplicate this database into your Notion account. Remember to duplicate it as a standalone new page, rather than into an existing page.
Your database title becomes the site title, the database icon becomes the favicon, and the description becomes the site description.
- Create a Notion integration
- Get your API secret
- Give your integration permission to the complete database you just duplicated
- Recommended: Get your Data Source ID. This is the preferred connection method for Webtrotion 2.0 because it's more stable. You can get it from:
- Open your database in the Notion app
- Click the ••• menu in the top right
- Scroll down to Manage data sources
- Click Copy data source ID
- Alternative: Get your database ID. Database ID is the 32 character alphanumeric string right after your workspace in the URL. It is the easiest to get this ID on a web browser rather than the Notion app. If you use the database ID, Webtrotion will automatically find the Data Source ID from it.
Database id from notion url
Github Setup
- Create a new repo from this template if you want to have a one and done standalone repository. If you want to be able to access and sync changes made in the template to your repository, choose to fork it instead. If you do not choose to add a custom domain, the name of your repository matters. If the name of the repository you create is <username>.github.io; your website will be accessible at <username>.github.io if you use github actions. If you use any other name, the website will instead be hosted at <username>.github.io/<reponame>.When you first fork the repository, you will see that the github action output fails. This is because we haven’t added or changed notion integration information. Don’t worry, once you add those, it will run successfully.
- In your repository settings:
- Uncheck template repository if it is checked.
- Turn on Discussions in features to use Giscus
- Go to Actions → General and set it to Allow All
- Go to Pages and set Source as Github Actions
- Go to Environments → github-pages; Scroll down to Environment Secrets, click Add New Secret. Set name as
NOTION_API_SECRETand the value to the API secret you obtained in Notion Setup - Very Optional (if you are tech-savvy or want to try): Get a personal access token to delete caches and set another environment secret named
DELETE_CACHES_GH_TOKENto this tokenDetails- Obtain a personal access token that you can limit to this repository using the process mentioned here:
 GitHub Docs Managing your personal access tokens - GitHub Docs. You only need the repo scope and remember to set the validity to no expiration. Remember to save this token somewhere because you will not see it again.
 - In the environment secrets section, add another environment secret named
DELETE_CACHES_GH_TOKENand set it to the token you obtained in the previous step. - Why do this at all? Because I like cleaner lists — and here is some information from Github’s end:
 GitHub Docs Caching dependencies to speed up workflows - GitHub Docs
- Obtain a personal access token that you can limit to this repository using the process mentioned here:
- Go to the actions tab, and choose I understand and want to run actions. On the left sidebar click the action “Deploy Github pages”. It will show a warning saying the scheduled action is disabled in forks. Click Enable workflow.
- Set up giscus as mentioned on the website giscus.app. Keep the script it produces open as we will use it in the next step.
- Go back to your cloned (forked or created through a template) repository.
- Open file
constants-config.json5[c][c]in the web UI. This file is the complete setup file for your website. For now, we will make four major modifications:For Webtrotion before 2.0, openconstants-config.jsonand configure four essential settings: changeDATABASE_IDto your Notion database ID, add your name toAUTHOR(used for HTML semantics and OG images), add your social media links, and add your Giscus information to theGISCUSkey (or disable it by removing the value fordata-repoinGISCUS).- Under
notion, changedata-source-idto your data source id that you obtained from Notion (or usedatabase-idas fallback) - Under
site-info, add your name toauthor(this is used for RSS feeds, OG images and metadata) - Under
socials, add your social media profile URLs (you should also remove the value forthis-github-repoand point it to yours) - Under
comments → giscus, add your giscus information todata-repoand other fields. If you do not want to use Giscus, leavedata-repoempty and that will disable the feature.
- Under
- Save the file and commit+merge to the main repo.
- The github action by default runs every 8 hours or on commits to the repo. This can be modified in
.github/astro.ymlfile. You can choose any cron duration.
Preview
Notion Properties
Your database title becomes the site title, the database icon becomes the favicon, and the description becomes the site description.
| Property | Usage |
|---|---|
| Page | Title of the page or post being rendered |
| Tags | Tags displayed for the post |
| Excerpt | Description used in OG images and RSS feeds |
| Collection | Collection in which the post/page goes. Anything tagged with main or your menu-pages-collection value (default "stream") is rendered as a page. |
| Published | Your post or page is only published when you tick publish |
| FeaturedImage | Image used to generate your page’s or post’s open graph image |
| Authors | Used to specify multiple authors for a post using Multi Select (tag description can be used to specify author-url, photo and description in shortcodes) |
| Specific Slug | The template generates a slug using formula, but if you want a specific slug, you can specify it here |
| Explicit Publish Date | By default, the formula considers the date notion page was created to be publish date. You can override it by setting a date for this property. |
| Explicit Last Updated Date | By default, the formula considers the date notion page was last edited to be last edited date. You can override it by setting a date for this property. |
| Rank | Want to order single pages (Updates before Papers?) Set rank in ascending order |
| Pinned | Pins post to the top of any collection page, except those tagged with menu-pages-collection. |
| Bluesky Post Link | Directly link to a bluesky post if you are using Bluesky for post comments |
Local Run
You can run the code locally by cloning the repo.
cd folder
export NOTION_API_SECRET=YOUR_KEY_HERE
npm install
npm run build #we need to build once because that is when all icons are downloaded
npm run dev
#use npm run build-local to reflect code changes
Extra configuration options
P.S.: You can search this simple table!
| Config Key | Description |
|---|---|
notion | Notion connection: data-source-id (preferred, more stable) or database-id (fallback, auto-finds data source if data-source-id empty) |
site-info | Basic site info: author (name for RSS/OG/metadata), custom-domain (without https:// or slash, empty for Vercel/Netlify), base-path (subdirectory like "/blog", empty if root), site-author-url (URL for site author, only when author name matches site author), site-author-photo (avatar URL for site author) |
site-info → authors | Multi-author support: enable-author-pages (builds /authors/ index and /authors/[author]/ pages), only-when-custom-authors (only show bylines and author pages when at least one post has a non-default author) |
collections-and-listings | Post organization: home-page-slug (default "home"), recent-posts-on-home-page (show 5 recent posts), number-of-posts-per-page (default 10), menu-pages-collection (pages in nav, default "main"), full-preview-collections (array for stream-style display), hide-underscore-slugs-in-lists (hide _ prefixed from lists/sitemap/search), listing-view ("list" for traditional or "gallery" for card-based grid with FeaturedImage thumbnails) |
theme → colors | RGB values (with spaces, e.g. "255 255 255") for light/dark modes: bg (background), text (main text), link (links), accent (primary highlights), accent-2 (secondary highlights), quote (blockquotes) |
theme → fontfamily-google-fonts | Font names only (no URLs, no escaping): sans-font-name (body/UI font, can be sans or serif), mono-font-name (code blocks). Auto-loads weights [400, 500, 600, 700] and styles [normal, italic] |
theme → cover-as-hero-background | Use cover image as background behind hero/post preview |
socials | Social profile URLs (keys are fixed, match icons): email, github, googlescholar, semanticscholar, dblp, substack, facebook, twitter, threads, instagram, mastodon, bluesky, calendar, kofi, buy-me-a-coffee, this-github-repo |
tracking → google-analytics | Google Analytics: use-ga (enable GA tracking), public-ga-tracking-id (GA4 Measurement ID like G-XXXXXXXXXX) |
tracking → umami | Umami analytics: use-umami (enable), data-website-id (website ID from Umami dashboard), self-hosted (true for self-hosted instance), self-hosted-umami-url (script URL for self-hosted) |
tracking → google-search-console-html-tag | Google Search Console verification: paste the 'content' attribute from verification meta tag |
og-setup | OG image generation: columns (1 = single column with bg, 2 = side-by-side), excerpt (include excerpt), title-font-name (any Google font), title-font-weight (default 400), footnote-font-name (author/date font), footnote-font-weight (default 400) |
comments → giscus | GitHub Discussions comments: data-repo (username/repo), data-repo-id (from giscus.app), data-category (discussion category name), data-category-id (from giscus.app), data-mapping (how to map pages, e.g. "pathname"), data-input-position ("top" or "bottom"), data-reactions-enabled (enable emoji reactions) |
comments → bluesky-comments | Bluesky comments: show-comments-from-bluesky (enable), auto-search-for-match with turn-on-auto-search (auto-find posts), author (your Bluesky handle), echo-feed-emoji (emoji marker for blog posts) |
comments → webmention | Webmentions: webmention-api-key (API key from webmention.io), webmention-link (endpoint URL) |
block-rendering | Content display: enable-lightbox (click images for fullscreen), full-width-social-embeds (embeds span full width on small screens), optimize-images (convert to WebP, slower builds but smaller files), process-content-to-markdown (convert all pages/posts to markdown format alongside HTML output for use with LLMs and other tools) |
shortcodes | Special markers in Notion code blocks: html-render (render HTML in iframe, default <!DOCTYPE html> <!-- iframe -->), html-inject (inject raw HTML, default <!DOCTYPE html> <!-- inject -->), expressive-code (not implemented), shiki-transform (advanced highlighting, default <<shiki-transform>>), mdx-inject (MDX compilation, default <!-- mdx inject -->), table (datatable features, default <<🗂️>>) |
shortcodes → author-desc | Author metadata shortcodes in multi-select description field: author-url (start/end markers <<author-url>>), author-photo-url (start/end markers <<author-photo-url>>). Remaining text is the bio |
auto-extracted-sections → footnotes | Footnotes: sitewide-footnotes-page-slug (legacy manual page slug, default "all-footnotes"), in-page-footnotes-settings with enabled (toggle system), source (only one true: end-of-block for definitions at block end, inline-latex-footnote-command for \\footnote{content}, start-of-child-blocks for first n child blocks, block-comments for Notion comments with Read permission, block-inline-text-comments not yet implemented), marker-prefix (default "ft" for [^ft_1], does not apply to inline-latex-footnote-command), generate-footnotes-section (collate at page bottom), show-in-margin-on-large-screens (margin on large, popovers on small) |
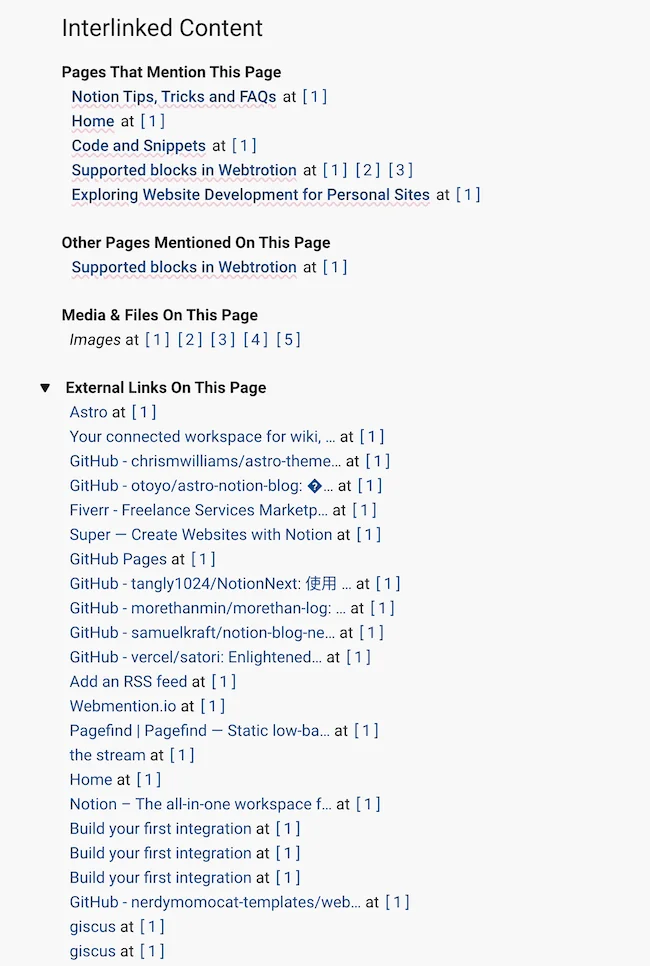
auto-extracted-sections → interlinked-content | Interlinked content at page bottom (formerly references): site-links-in-page (links to other site pages), external-links-in-page (external website links), media-and-file-links-in-this-page (embedded media files), links-to-this-page (backlinks from other pages). Popovers enabled by default |
auto-extracted-sections → citations | Citations: add-cite-this-post-section (add "Cite this page" section), extract-and-process-bibtex-citations with enabled (toggle BibTeX processing), bibtex-file-url-list (array of .bib URLs: GitHub Gist/repo, Dropbox, Google Drive; GitHub links check timestamps, Dropbox/Drive fetch on every build), in-text-citation-format ([@key] pandoc cite\{key\} LaTeX / #cite(key) Typst, renders as [firstName et al, year] or [1][2]), bibliography-format (only one true: simplified-ieee for numbered ICML/NeurIPS style, apa for author-year ACL style), generate-bibliography-section (collate at page end), show-in-margin-on-large-screens (margin on large ≥1024px, popovers on small) |
external-content | Pull external content from GitHub via Notion's "External URL" field: enabled (toggle feature), sources with markdown (GitHub folder URL where each subfolder is a markdown post), mdx (GitHub folder URL for MDX posts), html (GitHub folder URL for HTML posts), custom-components (GitHub folder for MDX imports, downloaded to src/external-content/custom-components, also usable via mdx-inject shortcode) |
redirects | 301 redirects: object mapping old paths to new (e.g., "/old.html": "/new/") for SEO when migrating content |
Webtrotion 1.0 extra configuration options
| Key | Value |
|---|---|
| public-ga-tracking-id | Your google tracking property id. Steps here. |
| google-search-console-html-tag | Content value of search console property verification tag. More here |
| webmention | Webmention API Key and link obtained from https://webmention.io/ |
| custom-domain | If you want to host the site somewhere else |
| base-path | Or subdomain inside the custom domain |
| shortocdes | There are 3 shortcodes atm, two supported, two in works. html shortcode is used to embed html code blocks that start with this line directly into the page. shiki-transform is used to transform code blocks into more expressive representations. table is used to set the identifier for data-tables enabling search and sort. |
| references | To show related pages, external links, and mentioned media at the end of the post. Set popovers to true to display a snippet when hovering over a post link in the body. |
| theme | Colors for light mode and dark mode |
| fontfamily-google-fonts | Combined URL link for all fonts you want to use from google fonts. Remember to escape spaces in font names if needed |
| number-of-posts-per-page | Number of posts in a page for pagination purposes |
| enable-lightbox | Set to true if you want people to be able to click on your image to open in a new tab |
| request-timeout-ms | Timeout for API requests |
| menu-pages-collection | Collection select value in Notion database that decides if these are pages or blogposts. Set this to value you use for pages. |
| heading-blocks | Which top-level blocks blocks should form the table of contents on right |
| full-preview-collections | Stream like view, where each post is a mini-blog in the same page as a scrollable page instead of being links to individual pages. Any Collection name added to this list will be rendered as stream view. |
| hide-underscore-slugs-in-lists | If the slug starts with _, hide those in post lists, rss and sitemap, but still render them, so that you can share them |
| home-page-slug | By default is set to home but can be anything that you want for the renderer to recognize which is your home page from the database |
| og-setup | Open graph setup refers to the images displayed when sharing links. It includes excerpts and creates two columns if a featured image is available. You can customize the title and footnote fonts for the og-image, particularly for non-English blogs. Ensure that each URL has only one font and, if it has a weight, the weight is above 400 |
| optimize-images | Converts images to next-gen formats like webp for more responsive sites |
| redirects | Intentional redirects, especially if you are moving systems that astro should redirect to |
| all-footnotes-page-slug | Defaults to _all-footnotes. This page is not visible in post list because it starts with a _ but you can use this show popup blocks on any of your pages. |
| bluesky-comments | show-comments-from-bluesky to turn on/off a Bluesky comment section. auto-search-for-match searches your profile for parent posts mentioning the link, controlled by turn-on-auto-search, with author specifying your Bluesky handle; echo-feed-emoji filters these searches. |
License
MIT
Notes
Webtrotion relies on GitHub Actions if you're deploying on GitHub Pages. If you don't commit any changes to the repository, remember to manually enable the workflow every 60 days.
Remember that the setup uses aggressive caching for github actions. These caches are public. If you want to remove caches, you can go to github action workflow and manually delete the caches
Open graph setup refers to the images displayed when sharing links. It includes excerpts and creates two columns if a featured image is available. You can customize the title and footnote fonts for the og-image, particularly for non-English blogs. Just specify any Google font name (no URLs needed starting version 2.0), and set the font weight if desired (default is 400).
If you end up using webtrotion, please consider buying me a coffee here:
Footnotes
- [a]From September 2025 onwards, AI assistants have been used to develop complete features. Before this, GitHub Copilot and chat-based AI tools assisted with code writing but not full feature development.
- [b]Just like these!
- [c]For Webtrotion before 2.0, open
constants-config.jsonand configure four essential settings: changeDATABASE_IDto your Notion database ID, add your name toAUTHOR(used for HTML semantics and OG images), add your social media links, and add your Giscus information to theGISCUSkey (or disable it by removing the value fordata-repoinGISCUS).





![[GitHub] The "Deploy to GitHub Pages" workflow in nerdymomocat/nerdymomocat.github.io will be disabled soon](/_astro/Untitled.DAUOZvuN_Z1Yr8GA.webp)
